
Wing foil guide – How do I get started with wing foiling? What sort of equipment should I get? Where is a good place to start?
With hundreds of hours spent in the water both as beginners and as experienced wing foilers we have learned a lot from our mistakes and experiences. Based on that, we have put together a step-by-step wingfoil guide to help you learn how to wing foil in a faster and more secure way than what we did.
Lapoint Surfshop and Sebastian Kjellstrøm, one of the country’s keenest wing foilers from the beginning who have also collaborated with FriFLyt in making several wing foil articles, have produced this guide. Sebastian is here to help you get started or to take your foiling to the next level. Feel free to reach out if you would like some help and guidance.
We also give you an introduction to all the different wing foil disciplines and what equipment to choose. As with cycling where you’ll need different bikes for the different disciplines, you’ll also need to have the right wing foil gear.
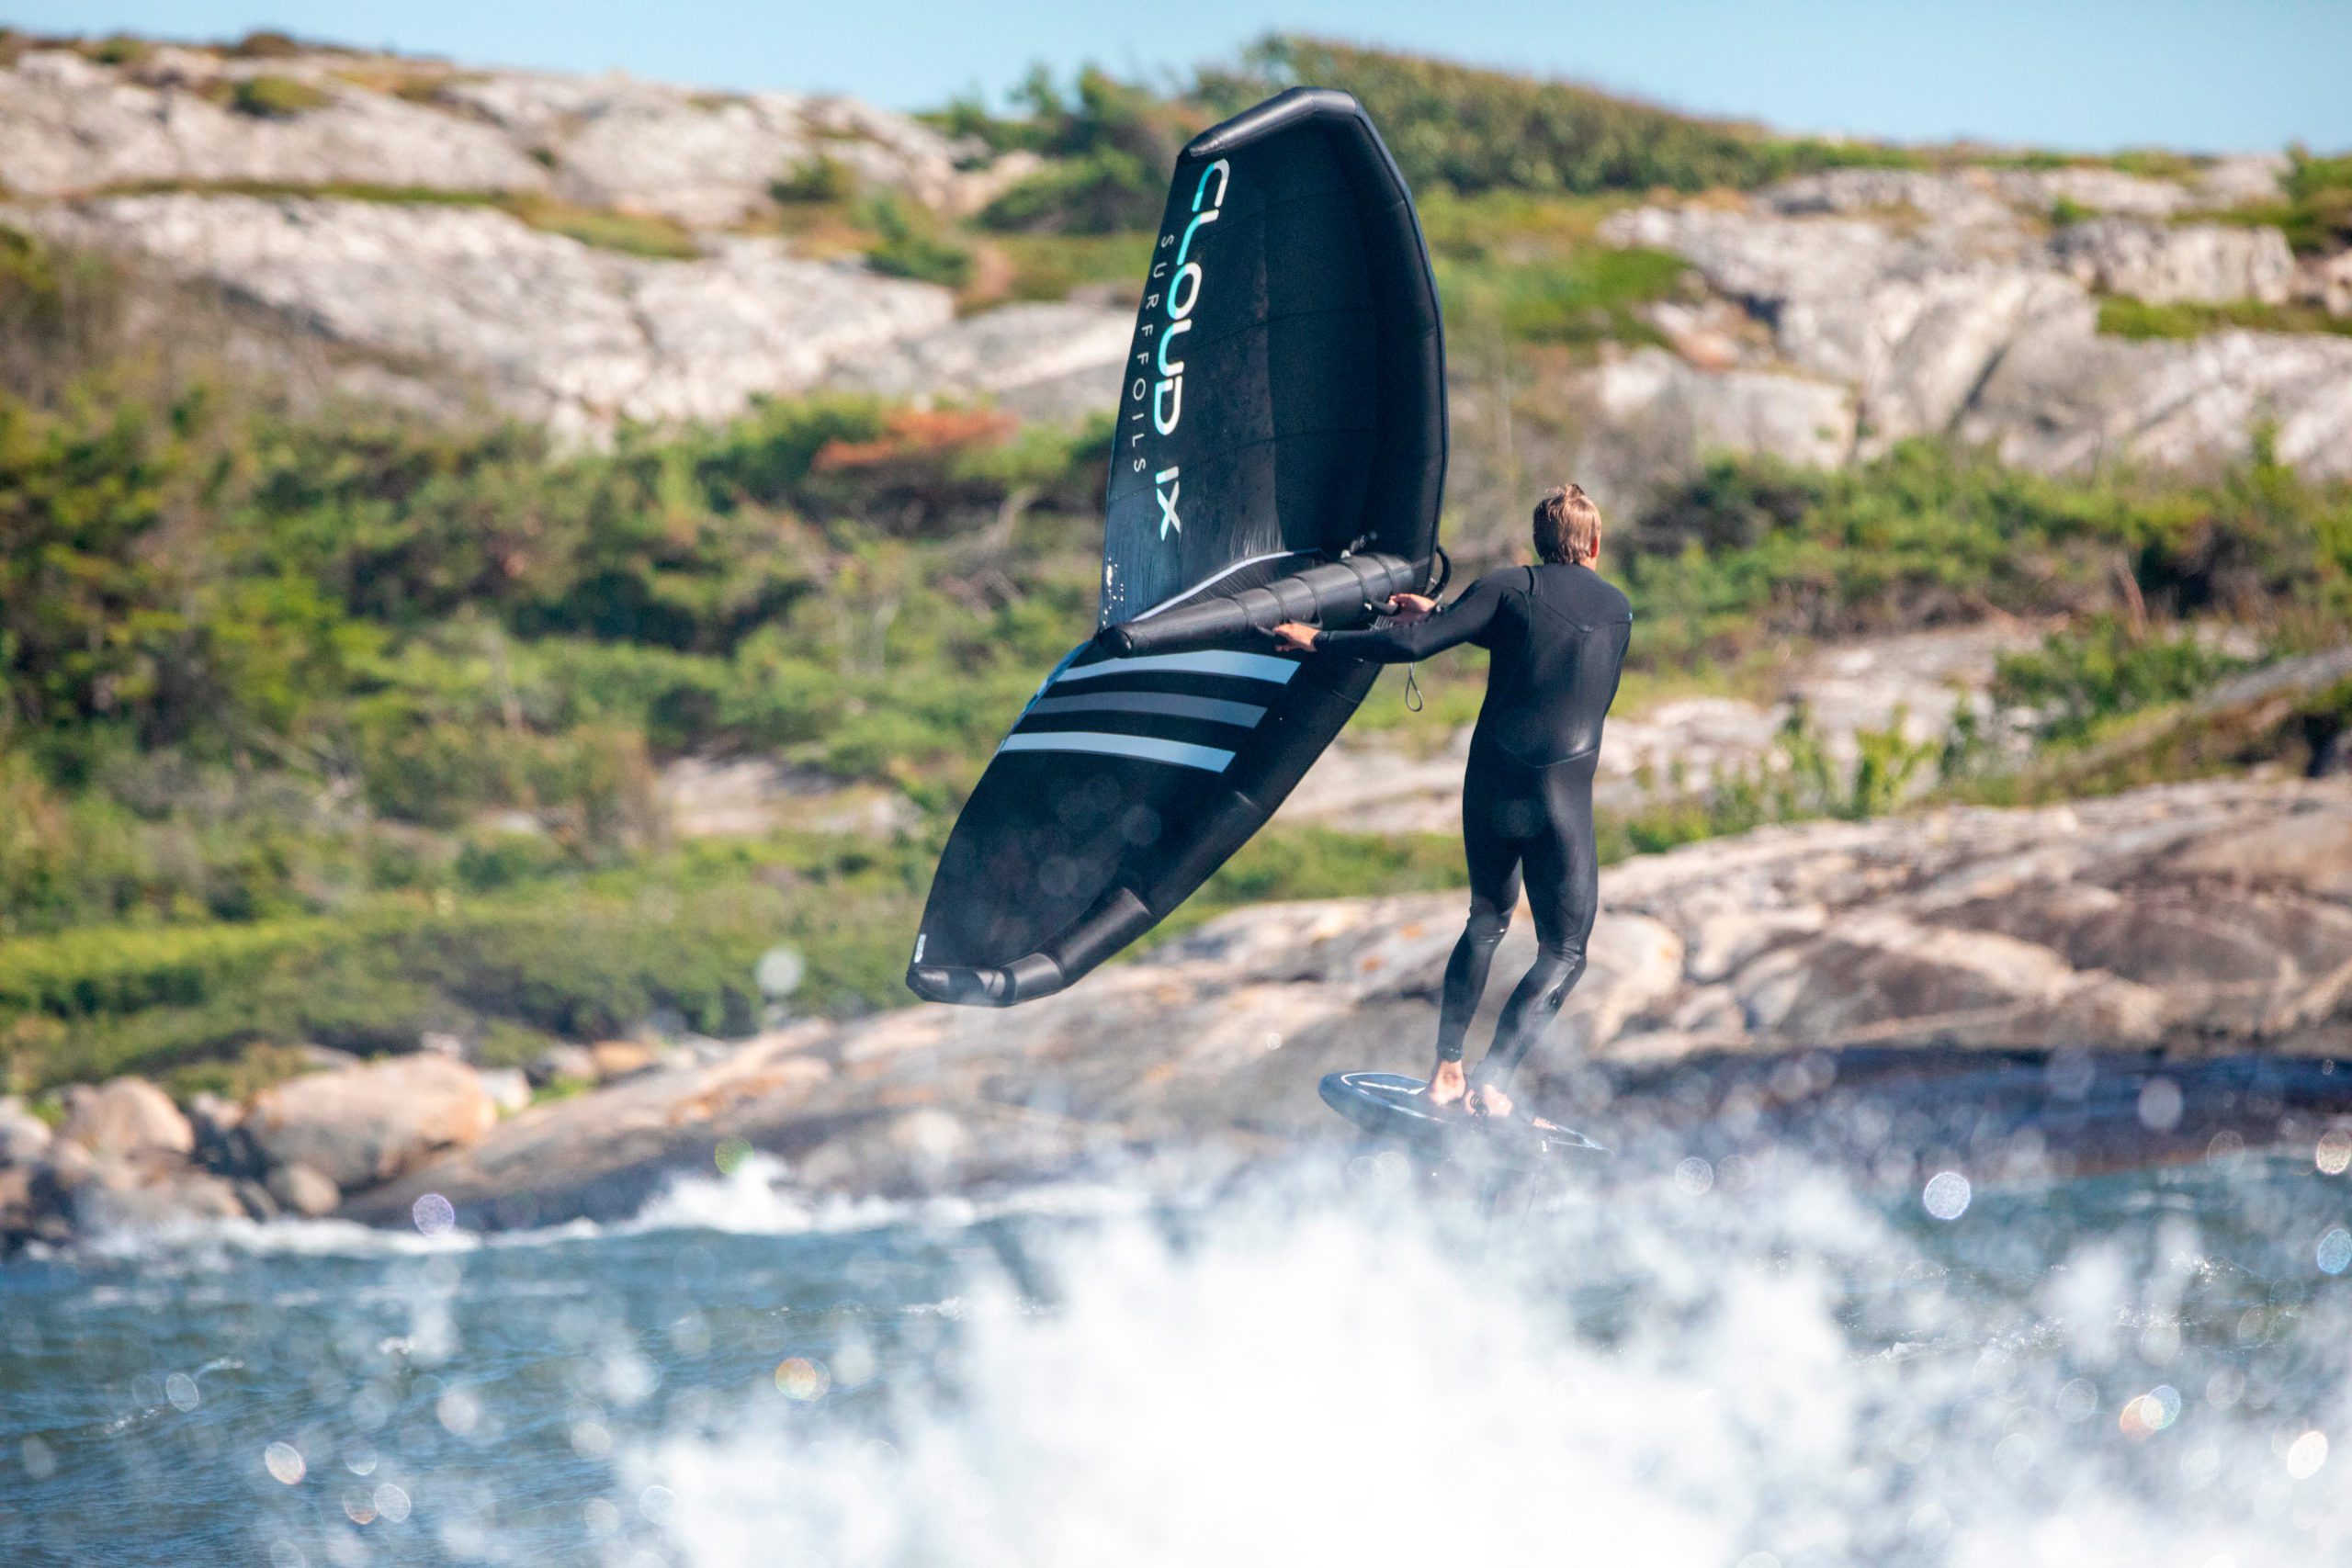
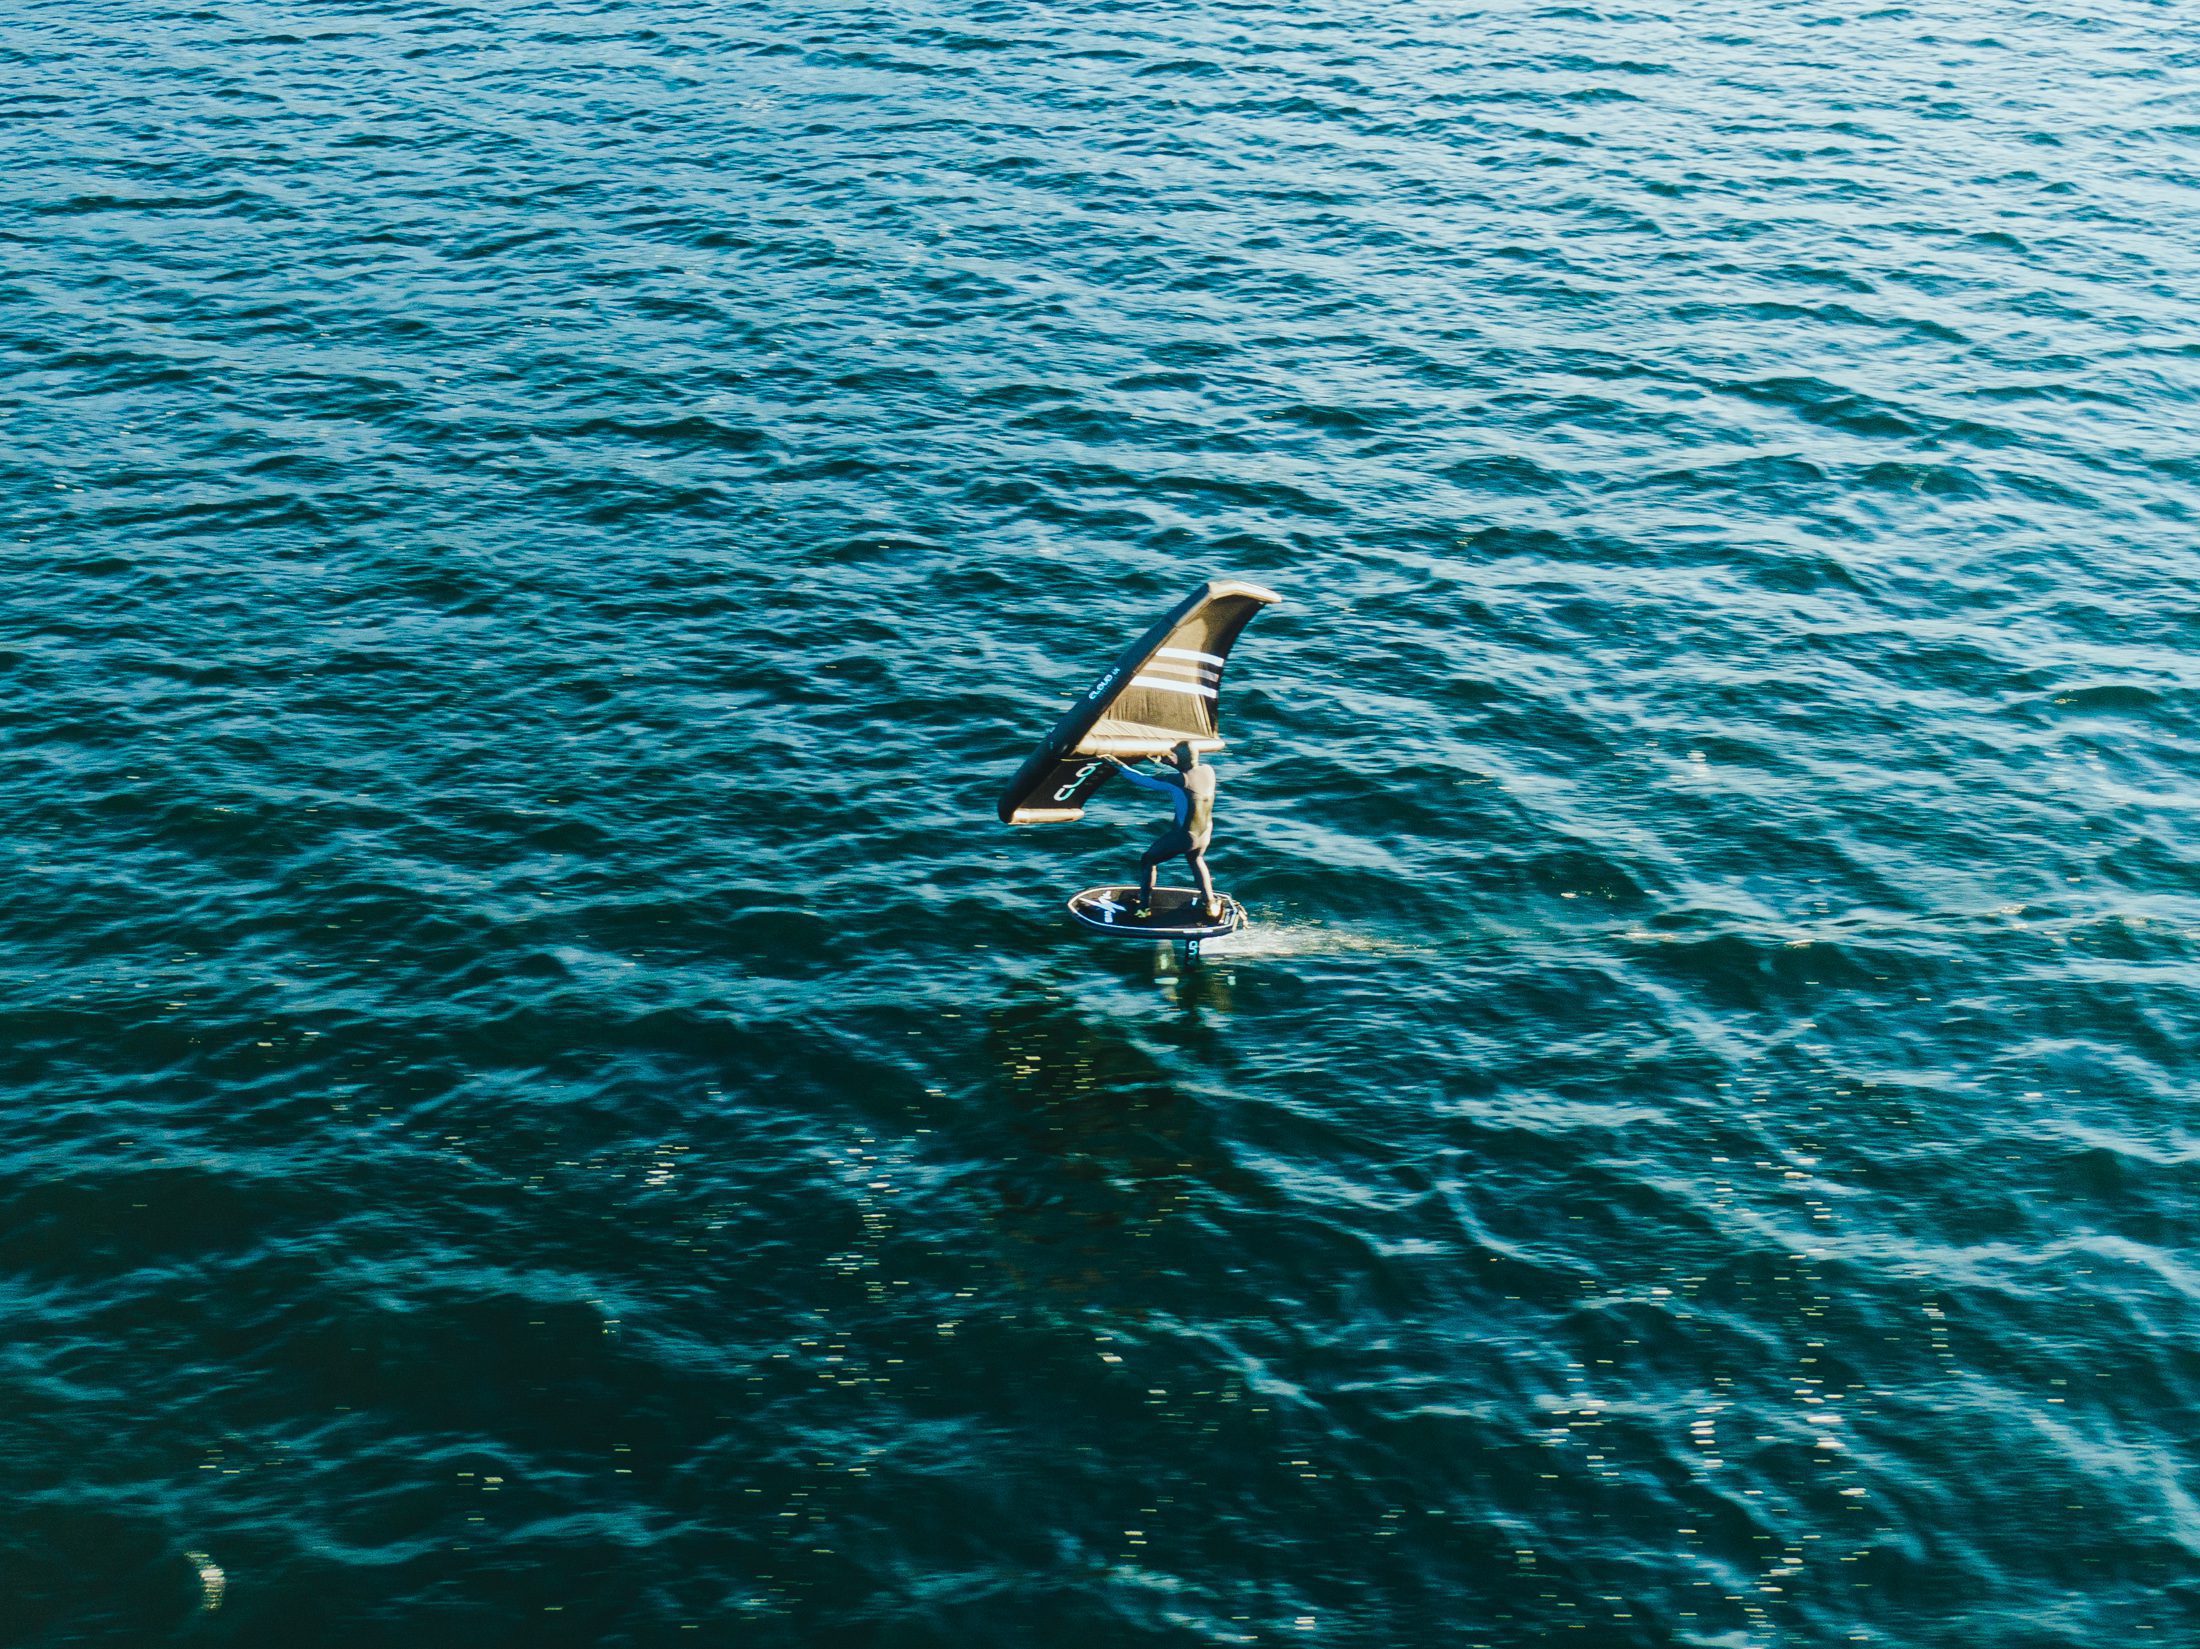
Photo: Otto L. Motzke
Together with Lapoint’s wing foil team of about 15 people, Sebastian has tested most of the equipment on the market. With all this time and experience in the water, we dare to claim that we have selected the very best equipment for our surfshop.
Whether you’re an all-round foiler or a racing enthusiast, we have all the equipment that you need. In our showroom in Drøbak, Norway, we offer experienced wingfoilers to test out our demo equipment as well as offering rentals and wing foil beginner courses.
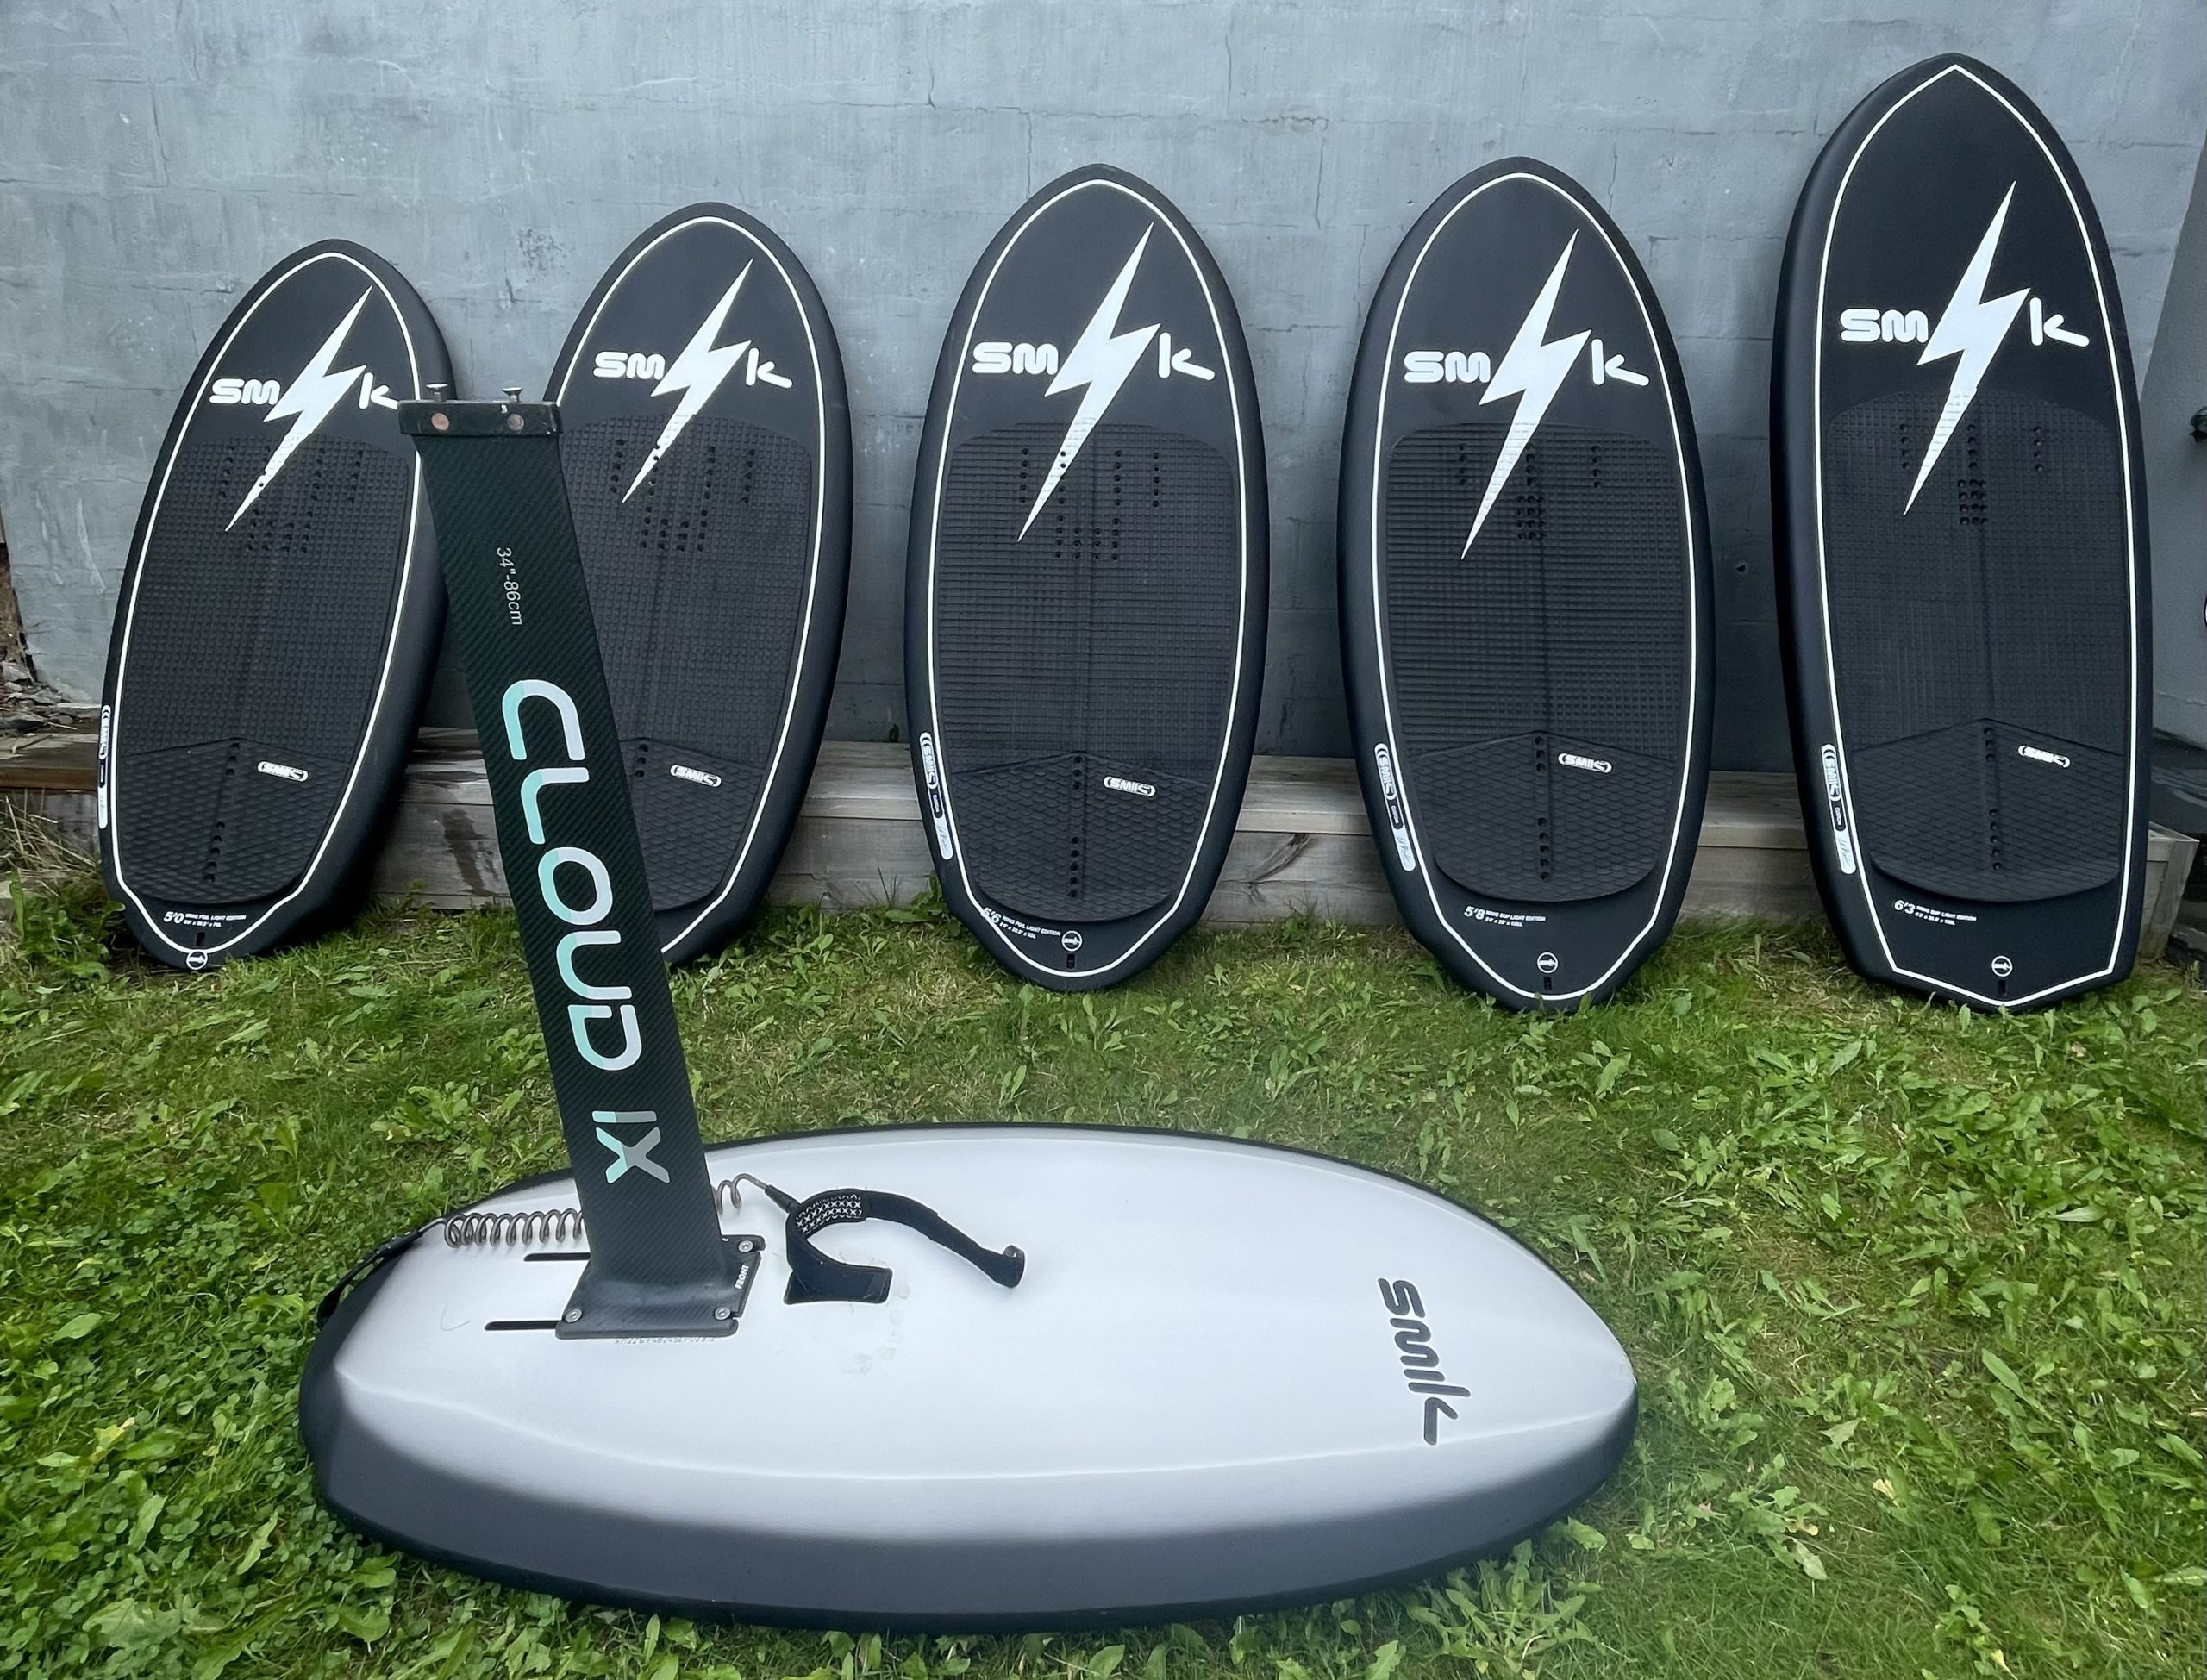
We offer equipment from both large and well-known brands as well as smaller, but innovative brands, which are perhaps the ones that are really pushing development at the moment. The brands we stock are PPC wings, Duotone wings, Cloud9 foils and wings, SMIK foil, board and wings, Reptile wing, foil and board and Fanatic boards.
The Process
Step 1
Start by learning to fly the wing, preferably on a grass lawn in a light wind of 5-8 ms. The next step is getting in the ocean on a large SUP or windsurf board. The important part is that you have some sort of keel to prevent drifting. Once you feel comfortable handling the wing, and are able to cross both ways upwind, you’re ready for the next step. This usually takes 2-3 sessions
Step 2 – Bonus Step
If you have the opportunity to foil behind a boat with a wakeboard line, this is a great way to get familiar with your foil. This is not a must, you could skip straight to figuring out your foil while flying your wing – however it’s probably the easiest way to maximize your flight time when starting out. Set up your foil all the way back in the fin box to maximize lift control and enjoy your flight. You’ll probably have your flying dialed in a few sessions.
Step 3
Feeling comfortable controlling the wing and maybe even foiling behind a boat? Great! The next step is flying in the ocean. The best way to get into it is by running a few downwinders, meaning you follow the direction that the wind takes you. It takes time getting used to starting the foil but on a single downwinder you might get 50-100 attempts to get up on the foil. The further your runs are – the better. A distance of about 3 km is ideal. Another key point is wind, you need quite a bit of it to get started. We’d recommend saving your energy for days of at least 8-10 ms, anything less will be a struggle in the beginning.
Friflyt – Slå eller tack, slik går du opp mot vinden
Which wing foil discipline interests you?
You can compare wing foiling to cycling, there’s a bunch of different disciplines and gear that is adapted to the various disciplines. If you do road racing, you’ll want the quickest bike possible. The mountain bikers will choose downhill equipment. Exactly the same applies to wing foiling. The different disciplines have quite contrasting equipment so knowing what to get is key.
Racing/Regatta
If you’re a speed freak who wants to race other wing foilers on a flat water slalom circuit, wingfoil racing/regatta is the discipline for you. There are a few local tournament organizers around Europe and also an international professional tour.
All-round
Do you like a bit of everything and want to do tacks, jibes, airs, small wave surfing and maybe even some downwinds? Then you are in the all-round category. It’s probably the most popular discipline in the sport and it’s easy to see why.
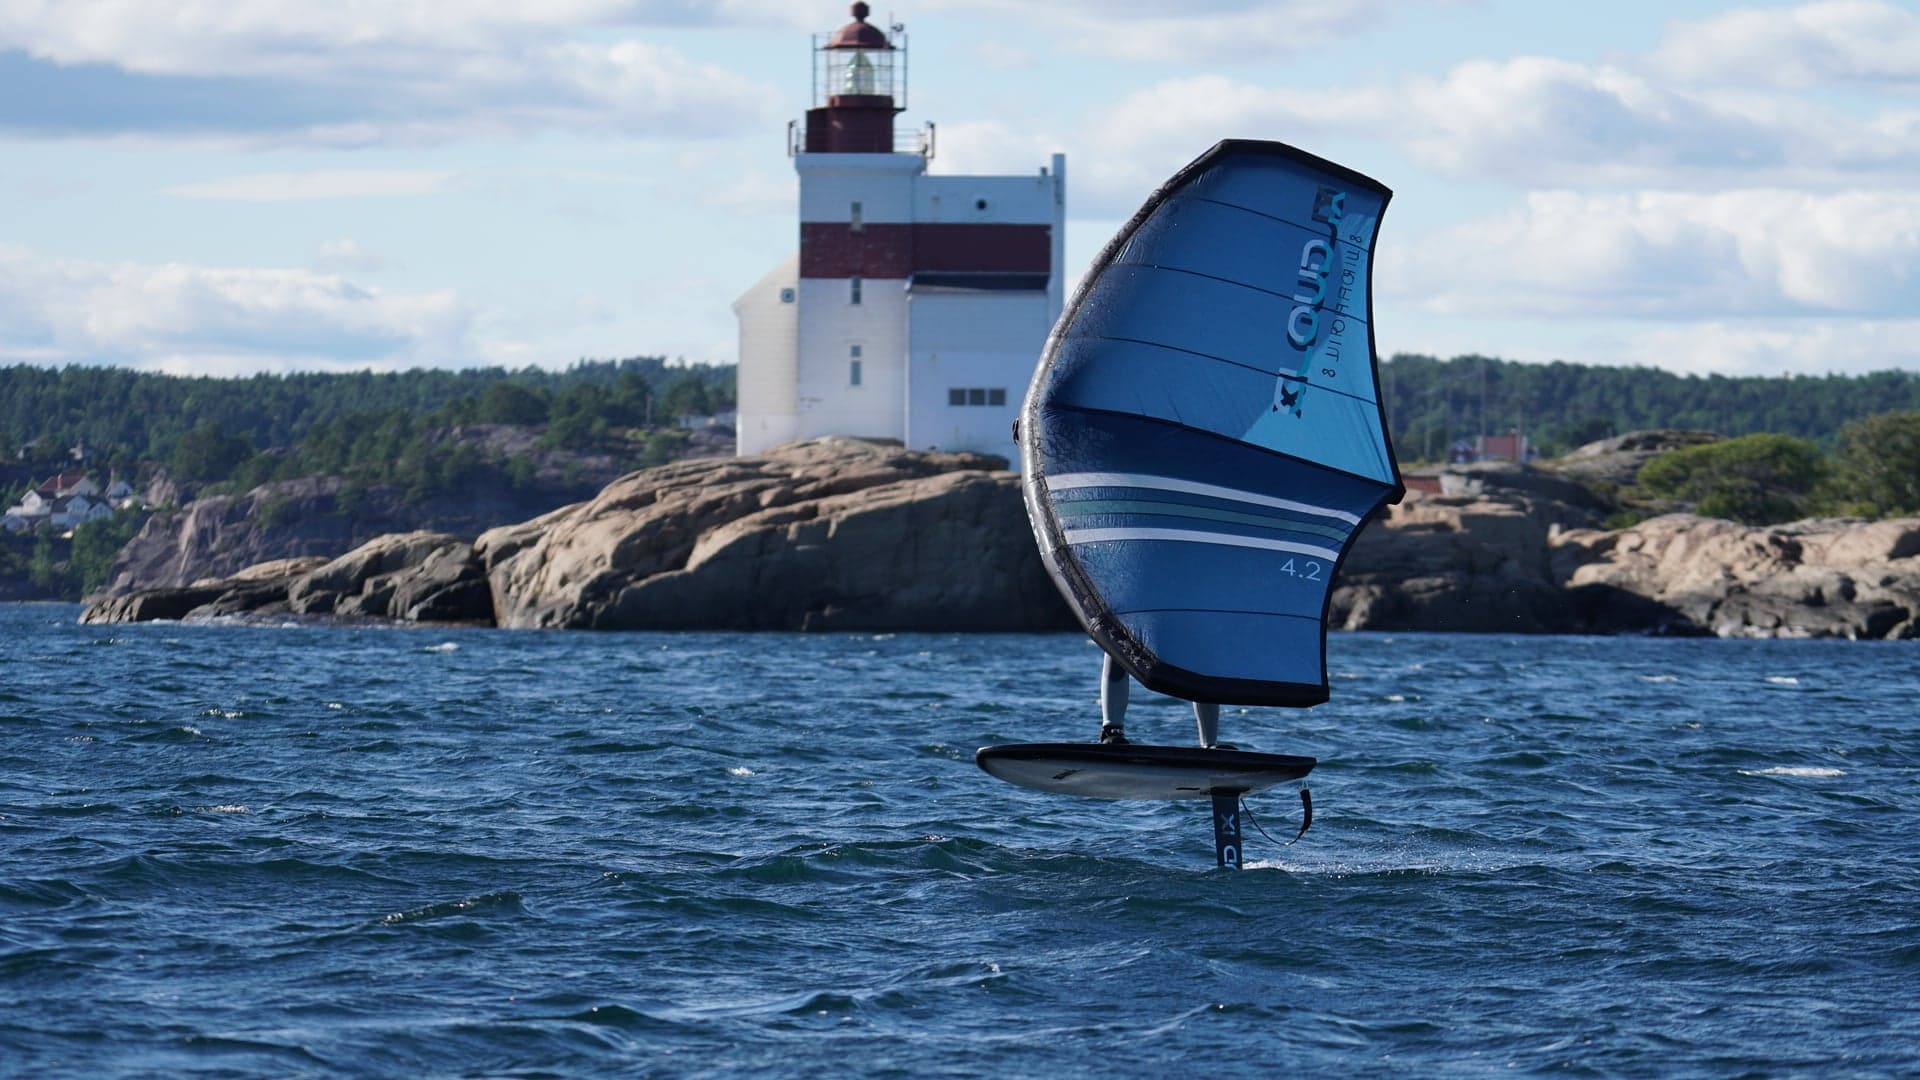
Photo: Øyvind Vedvik
Wave
The name speaks for itself. You want to surf breaking points and beach breaks on a foil with the help of a wing in your hands. This is particularly popular in Hawaii, where you have a lot of both wind and waves.
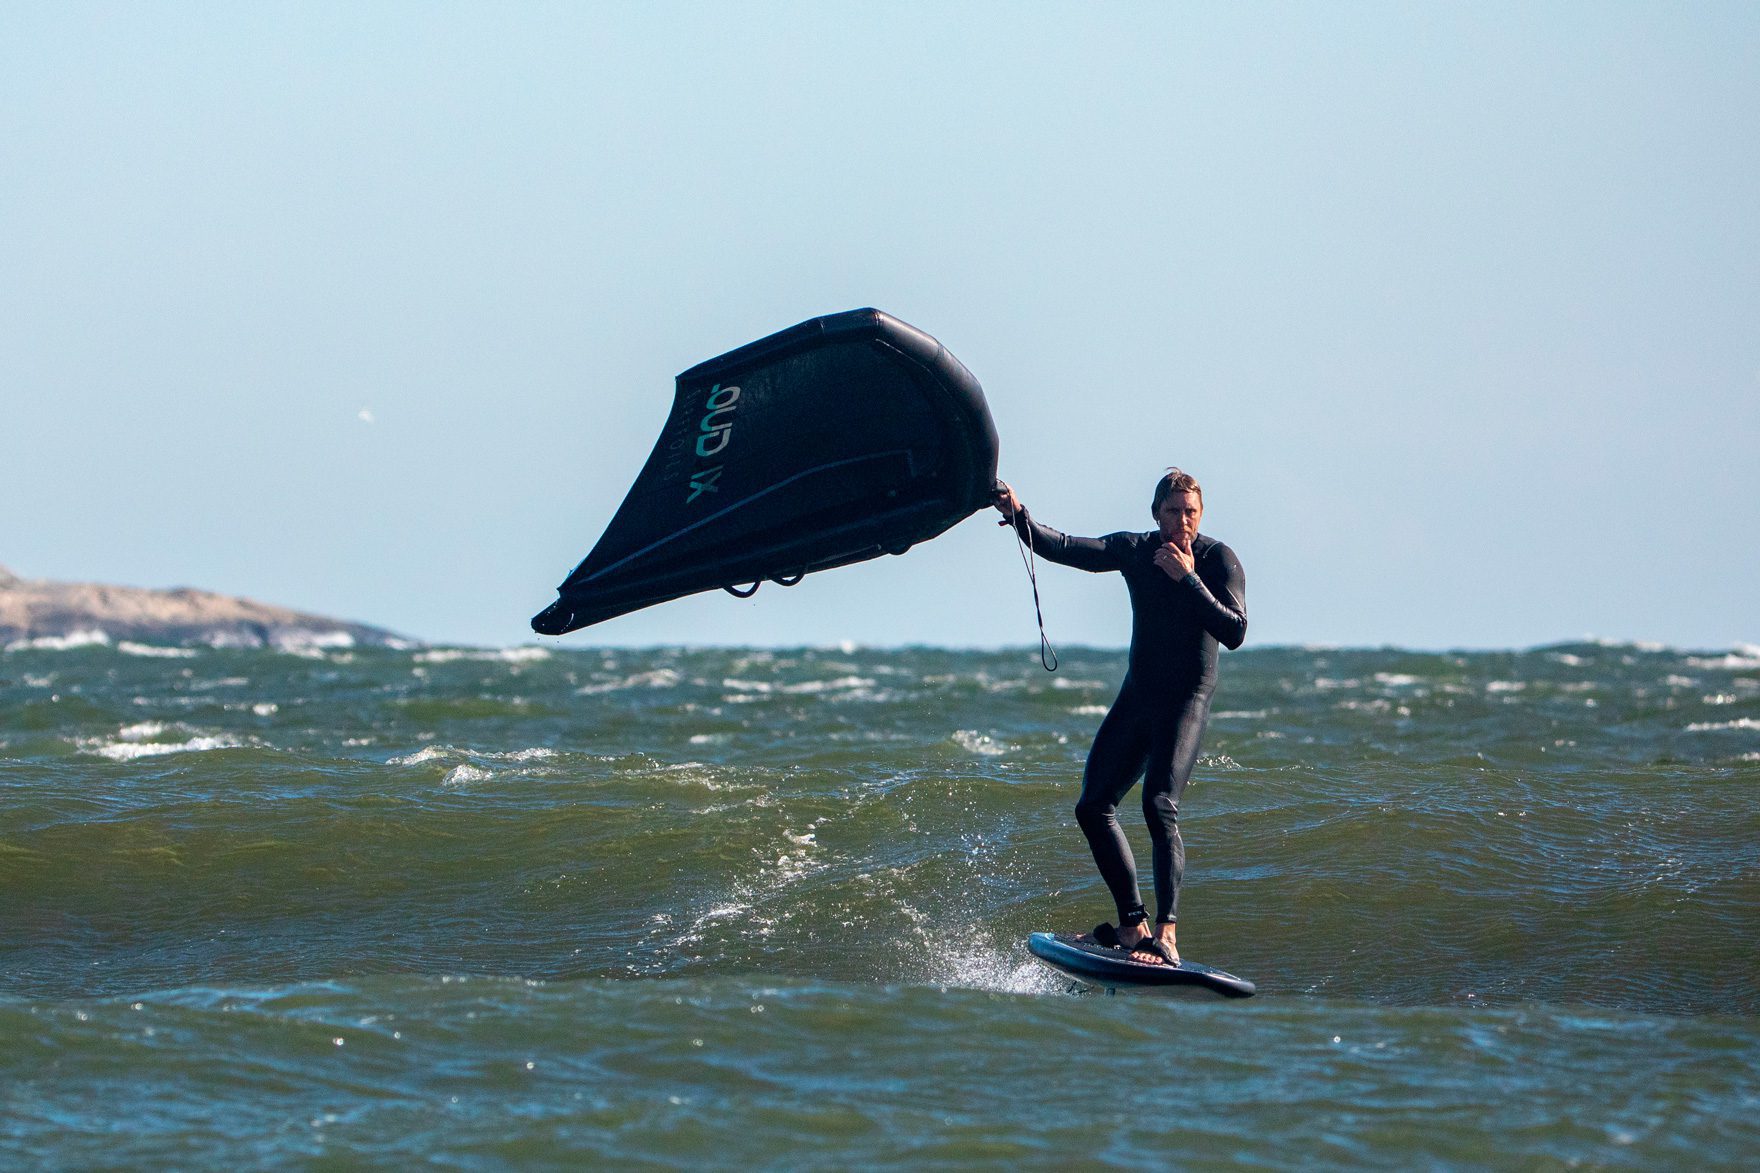
Photo: Otto L. Motzke
Freestyle
You may have seen Balz Müller on Instagram? He’s probably the best freestyle wing foiler in the world, consistently blessing our feeds with incredible flat water maneuvers. We’re talking everything from div flips where both him and the board flips, all while the wing is spinning like a basketball above his head. If you haven’t seen it yet he’s definitely worth a scroll
Choosing the right gear – Starting out vs Progressing
As we touched upon above, it’s important that you buy equipment according to the wing foil discipline you’re into. If the seller is hooked on wing foil racing/regatta, that doesn’t mean that you are. It is your choice. We are here to help you find the gear that suits you and the discipline you like.
If you have the finances to do so, we recommend choosing equipment that you can advance with from the start. Choose a quality wing and foil. These are the most important elements for wing foil success. Quality equipment will last for several years to come and you can upgrade the front and rear wings as you go.
If you are a student or youth and have a tight budget, choose cheaper entry-level equipment or used quality equipment. Our philosophy is that wing foil should be for everyone, both young and old. We have both new and second hand equipment in stock, so just reach out and we’ll arrange a wing foil package that fits your wallet and your needs.
Below you’ll find an overview of the different wing foil disciplines and what kind of equipment that is best suited for each category.
Wing foil equipment is constantly developing so it’s important that you check the date on articles etc. that you read online. Something written 2-3 years ago is old news.
The all-round wing foiler
Choice of foil
Choose a mid aspect foil with between 1400 and 1700 cm2 in surface area, depending on your weight. This is suitable for people weighing between 55kg and 100 kg. Choose a mast between 75 cm and 85 cm. A good mid aspect foil will make it easier when learning to foil compared to a large low aspect (2000-2400 cm2) foil. Larger mid aspect foils (1400-1700 cm2) creates more lift and will get you out of the water quick and stable. This type of foil is the easiest foil when learning the fundamentals, such as crossing, tacks, jibes, pumping, downwinding, surfing and jumping. A mid aspect foil is relatively fast, but not as fast as a high aspect foil. The mid aspect foil offers an extremely good glide and will glide at low speed without falling through. The high aspect foil requires a higher average speed. It glides really well at high speed, but will fall through at a low speed. When ready for it, you can upgrade the foil by getting a smaller mid-aspect front wing between 1000 and 1200 cm2 which is more aggressive, but still offers glide and stability.
Choice of wing
For all-round wing foiling you would generally want a light, stable wing with a stiff canvas. This will help you lift easily, cross as you wish and provide you the power that you need when jumping. You’d want it to be light and easy to hold in the leading edge handle when surfing small waves. You don’t want a heavy wing that falls into the water due to weight. We recommend light wings without too many “extra features”. Soft handles are recommended, but you can also find suitable light, flexible wings with hard handles. Choose a good wing that will last you several seasons.The wing should have a PSI of 6 to 8, and no less, because then it will be too limp.
Choice of board
To make it fun and easy from the start you should choose a stable board that floats well. The board should be between 25 and 35 liters of volume over your body weight. The more stable you are on the board the easier it will be to learn.
It doesn’t really matter what type of board you start off with, as long as it is relatively light and stable. In other words, you can choose everything from inflatable boards to hard fiberglass boards in the beginning. Instead of splurging out on an expensive board, save the extra cash for the foil and wing.
As you progress and maybe have learnt jibing, maybe some tacks, some jumps and to surf a bit etc…. Then it’s time to move to a smaller and more maneuverable board. Choose a board that has the same liter as your body weight. For example, if you weigh 85 kg, you choose an 85 liter board. This board will work well in both light and strong winds. Strap in at the front and the back and get ready for an explosive progression.
If you really get the hang of it and want a more responsive board, you can eventually lose another 10-20 liters. It will make it more difficult to get up in light winds if you’re not yet at this level, so wait until you’re ready. You’ll know when.
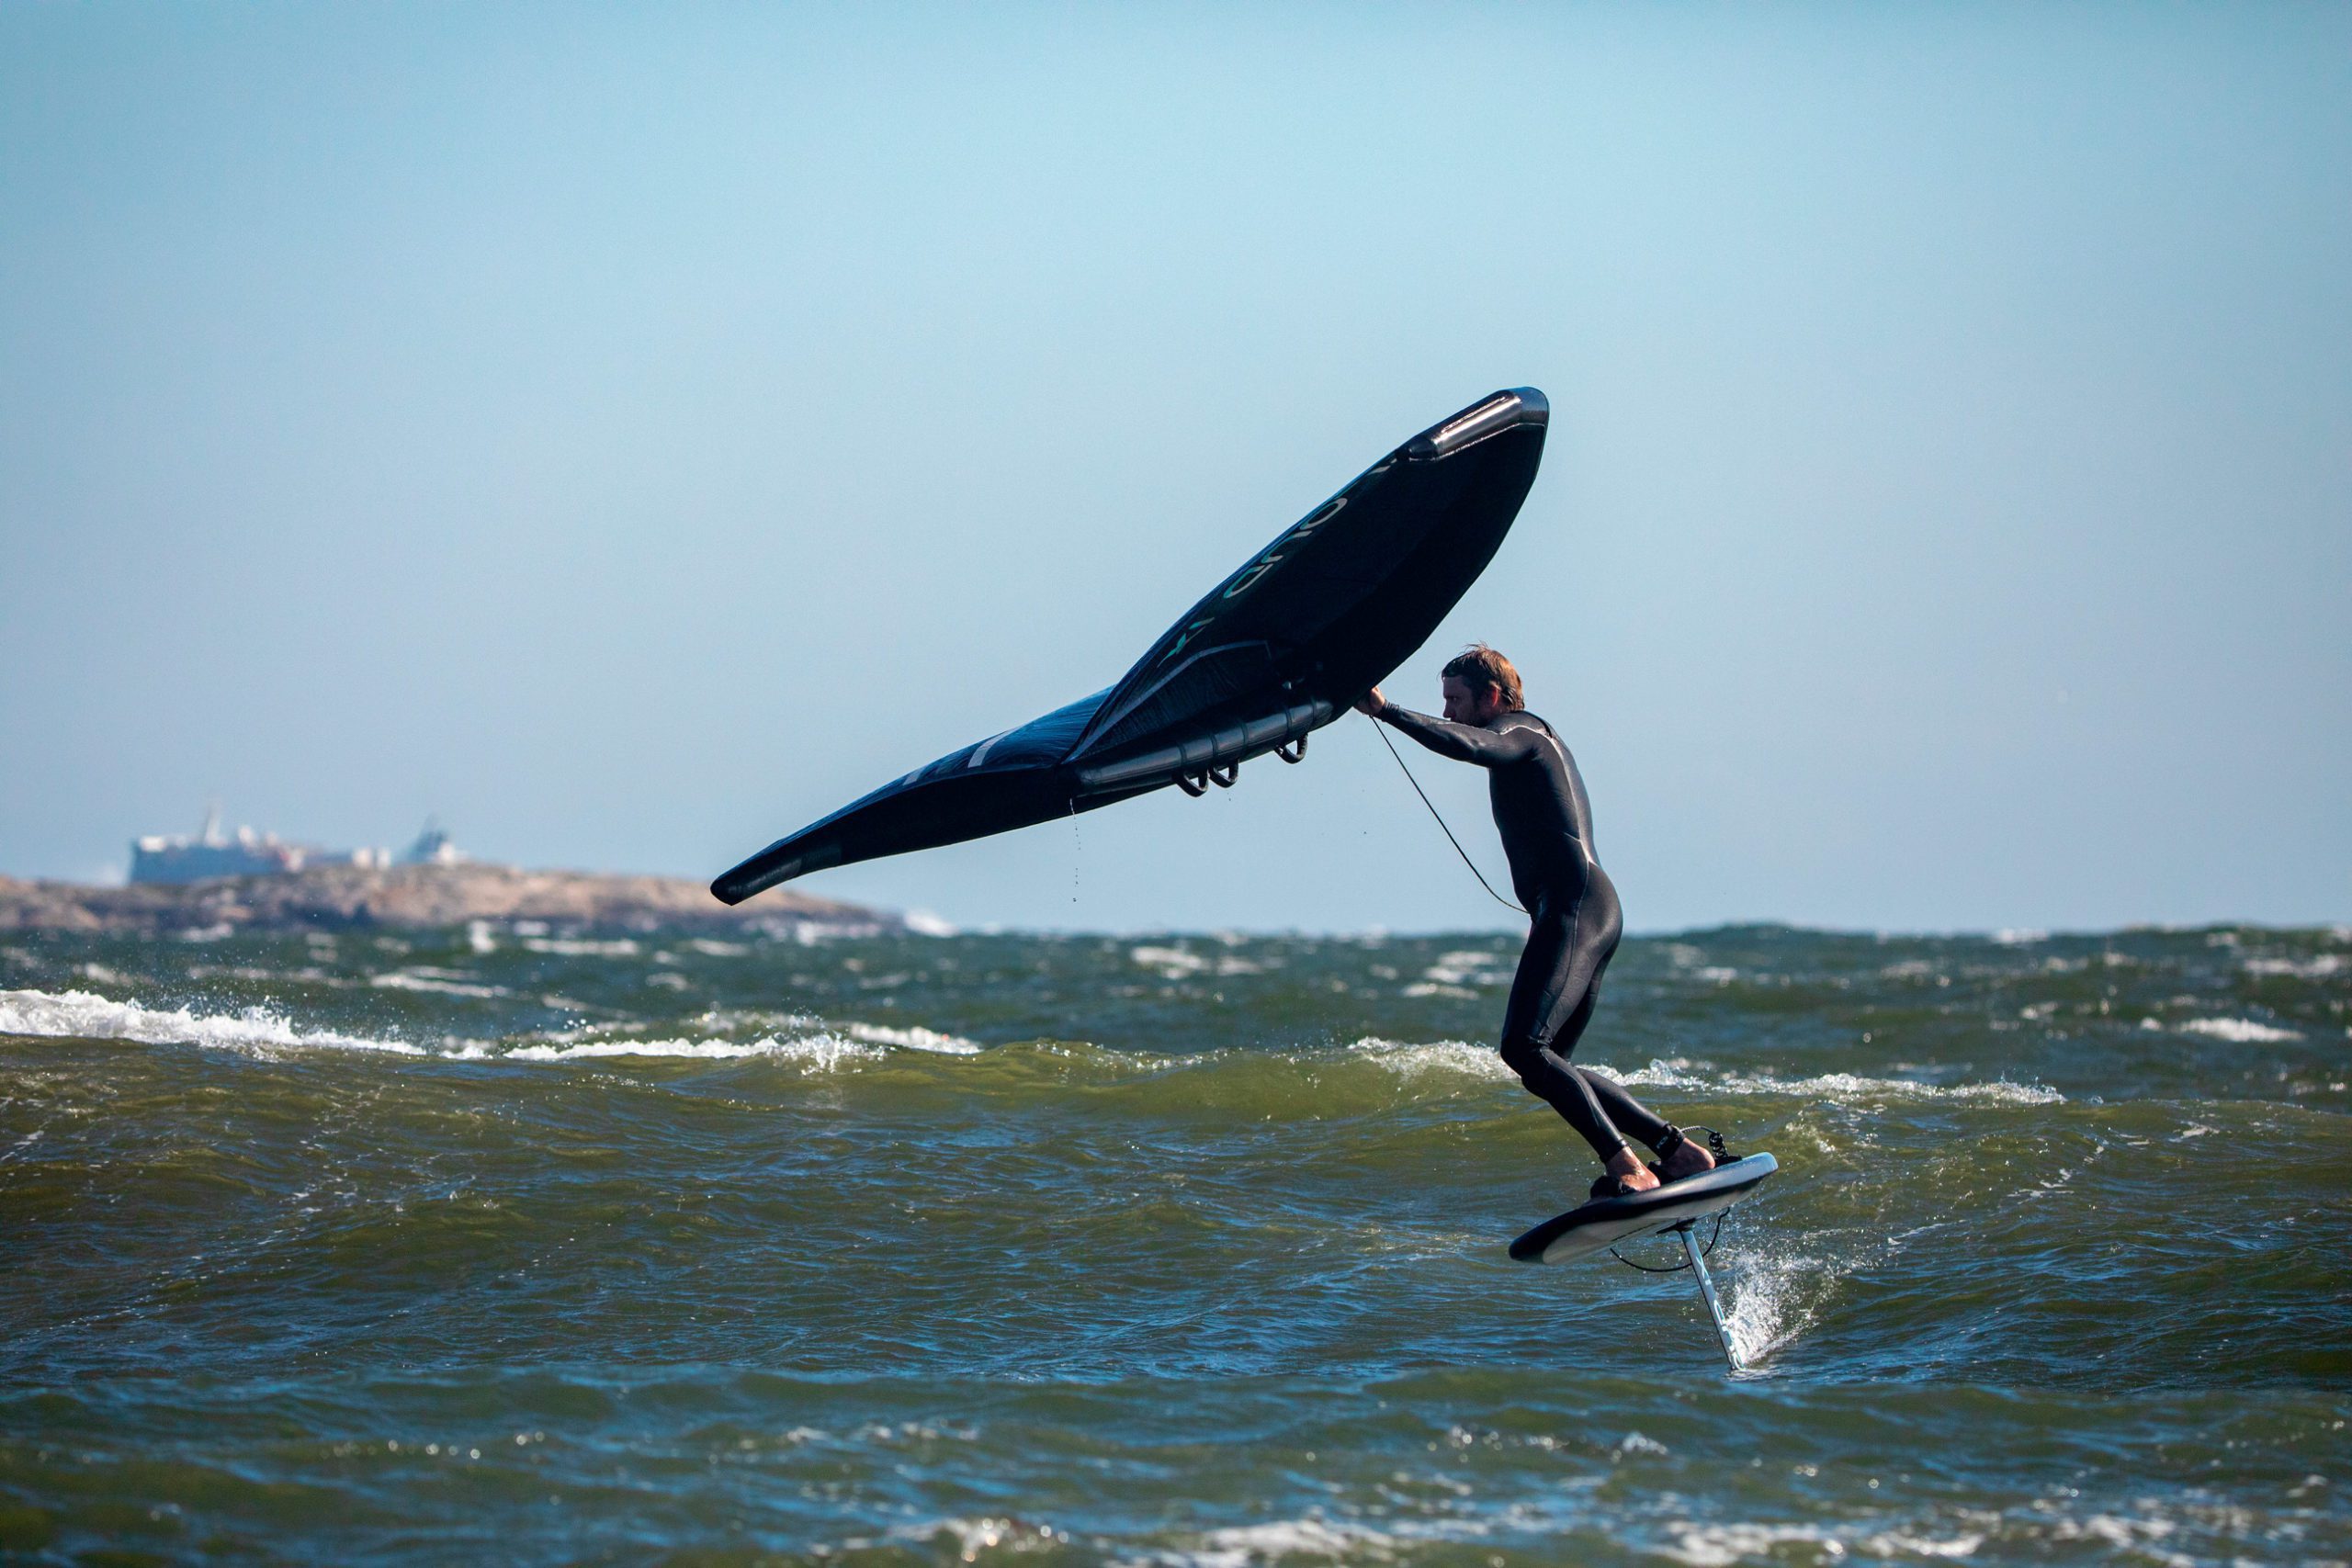
Photo: Otto L. Motzke
Racing/Regatta
Choice of foil
For this discipline you’ll want small and fast high aspect foils with longer masts between 90 cm and 100 cm. This is Ferrari equipment and not ideal for beginners! This equipment is really responsive and requires a lot of experience. Once you really master the fundamentals, you can move on to this gear.
As mentioned above, we recommend that you start with the same equipment as in the all-round discipline. Choose a mid aspect foil between 1400 and 1700cm2 with a somewhat longer mast of between 85cm and 90 cm. A longer mast provides more clearance from the water surface and small waves are more likely to pass under the board. As your skills increase you can switch to high aspect front wings and really start chasing the speed – and the competitors!
Choice of wing
Start off with a wing that has about the same characteristics as for the all-round discipline. You can even look for wings with windows, so you can see the competitors when you are in a race. In this discipline, the athletes are using everything from soft to rigid handles and booms. The wing must be as stable as possible and really be able to generate power and speed. You want to beat the other competitors, right?
Choice of board
The same recommendation applies here as for the all-round discipline. Start on a large board and work your way down. As of today, there are no boards made purely for racing, but there will be eventually. Once you’ve become proficient and started competing, you would want a board that’s not too light because you’re using a powerful high aspect foil that needs a stable board that stays in the water. You also have to take the wind into account; a lighter and larger board will get wind underneath it, which will slow down the speed.
Freestyle wing foil
Choice of foil
Again, start off with a mid aspect foil to learn the basics. Once you master this, get smaller mid aspect and high aspect wings and a mast between 75cm and 90cm to get extra speed into the maneuvers, so that later you’ll get maximum pop and height.
Choice of wing
Choose a similar wing as for the all-round discipline, a light, flexible and powerful wing that you can use like a ballerina. Choose any handle you prefer. Soft, hard or booms all work for the purpose. It is generally a little bit easier to find your way back to the grip if, for example, you have a boom. A boom is slightly heavier in terms of weight, but clearly has its advantages.
Choice of board
Same again as for the all-round foiler: start off with a big and stable board and aim for a smaller and lighter board as you advance. Wait with the pro boards until you master a board between 0 and 20 liters under your body weight, as these mini boards of around 40-50 liters do not float and will sink after every maneuver you land.
Wave wing foil
Choice of foil
For many years the surf foilers have been using small low aspect foils between 1100 and 1200cm2. Today, we see a lot more people who are using mid aspect foils and the very best high aspect foils. This allows them to perform aggressive turns, surf faster and connect more waves (easily pump between a wave you have just surfed and a new wave out in the lineup). If this is your goal, then the answer is a mid aspect foil (1400-1700 cm2) and a mast between 70cm and 85 cm.
Choice of wing
The same applies here as for the all-round foiler, but for this discipline you want to be even more extreme when it comes down to weight. You only want the very essentials on the wing, and thus, for example, no windows. You want soft and light handles, and only the 2-3 handles on the wing that you actually use. The heavier the wing, the more drag and wing to deal with when you really want to focus on surfing the wave. The main purpose of the wing is to take you back out to the lineup.
Choice of board
Same as for the all-round discipline. Start off with a large rookie board. Then scale down to a board with the same number of liters as your body weight in kg. Later, you can, for example, lose a further 10-20 liters. Once you have reached a higher level after this, you can move on to a sinker board. A sinker board is between 40 and 50 liters that does not float, and requires a water start. You want a small board that is more responsive in turns and maneuvers on a wave. In addition, you want the board to be small so the wind doesn’t catch underneath.
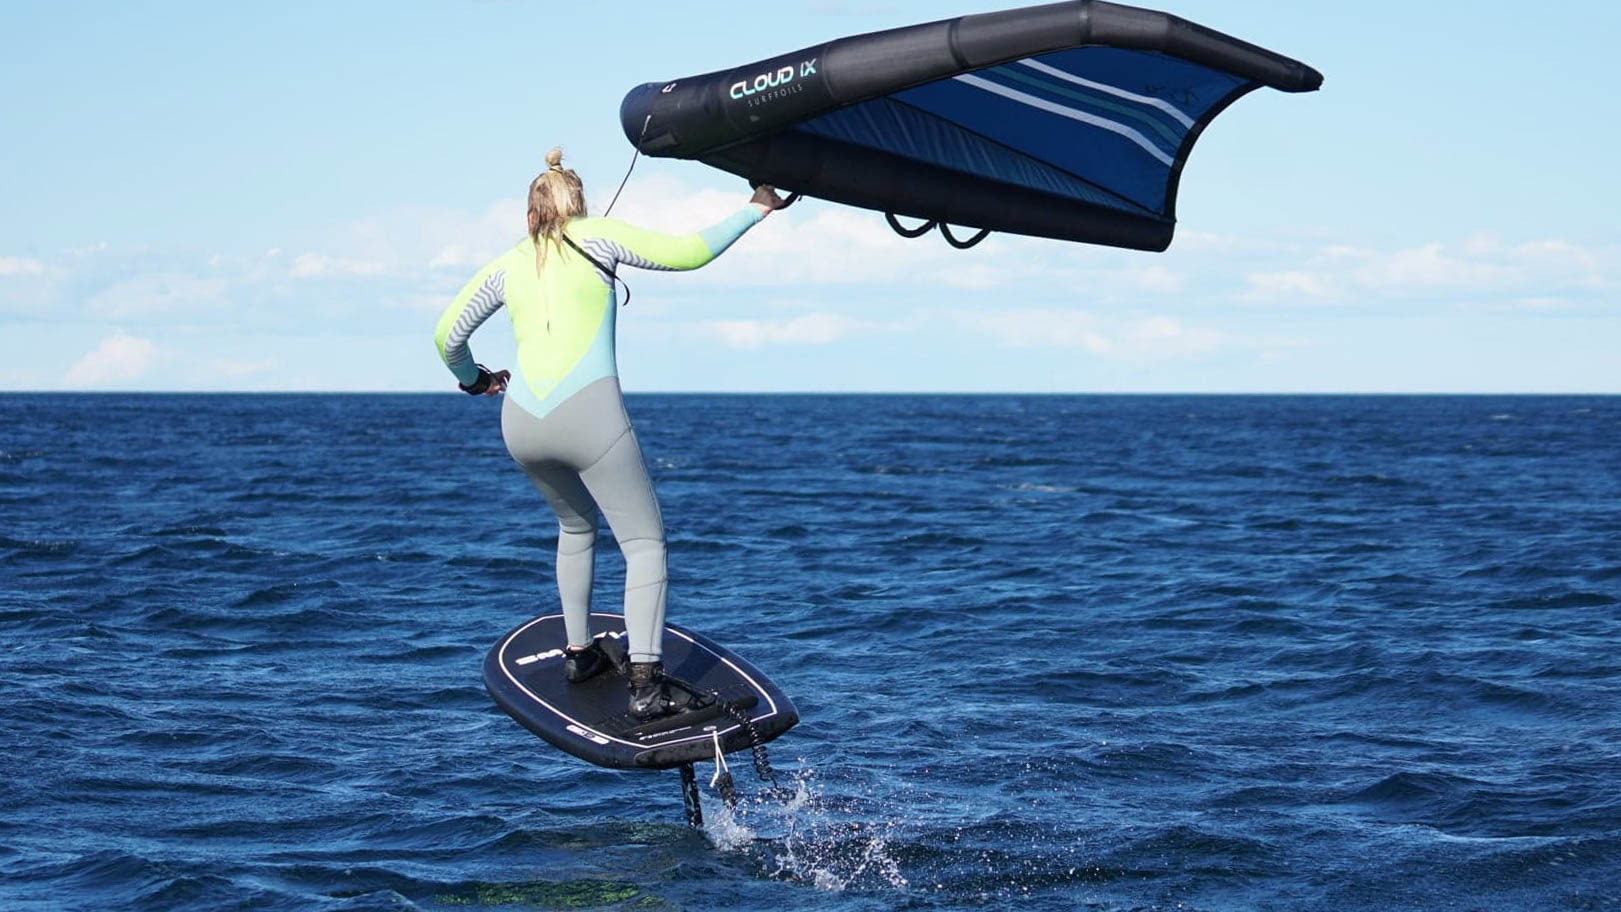
Photo: Øyvind Vedvik
General wing foil tips
Yes, it looks simple, but for most people it takes 10-15 sessions before they are up and flying. So don’t be disappointed if you don’t get it right away. Go through our learning guide step by step, there are no shortcuts.
The key to progression in wing foil is to get as much board/foil feeling as possible. Once you’ve started and then getting some flying skills, focus on learning to control the board and the foil as much as possible. The better you get at pumping, carving, etc. when only holding the surf grip, the easier everything else from tacks, jibing, carves, jumping, surfing, etc. will become.
It’s easy to want the same equipment that the pros are using, but remember, they are some of the world’s best in the sport. They have enough experience and board/foil feeling to use for example small and fast high aspect foils. Ask yourself; would you have bought yourself a Formula 1 car as soon as you had learned to drive?
No, you wouldn’t, because you wouldn’t be able to drive it. The same goes for smaller high aspect wings. Only go there once you have learned the fundamentals. If you can’t do all tacks, jibes, jumps, ride waves on lock… then wait until you can! You’ll have way more fun and be able to learn faster on a larger mid aspect foil (1400-1700 cm2).
Sebastian has been involved in helping FriFlyt with various articles/videos about how to start with wing foil, learn different jibes, tacks, surf small waves etc. See links below from FriFlyt.


